
 Pin to Save
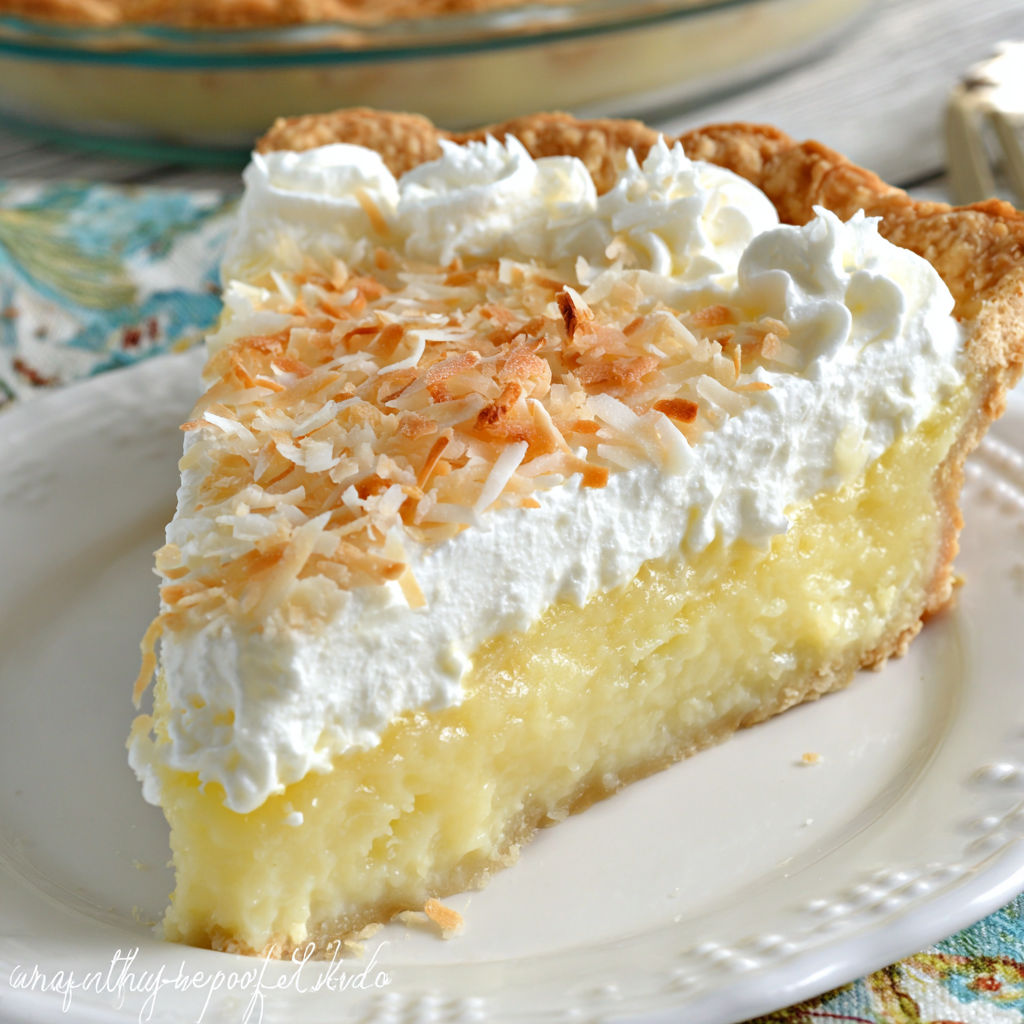
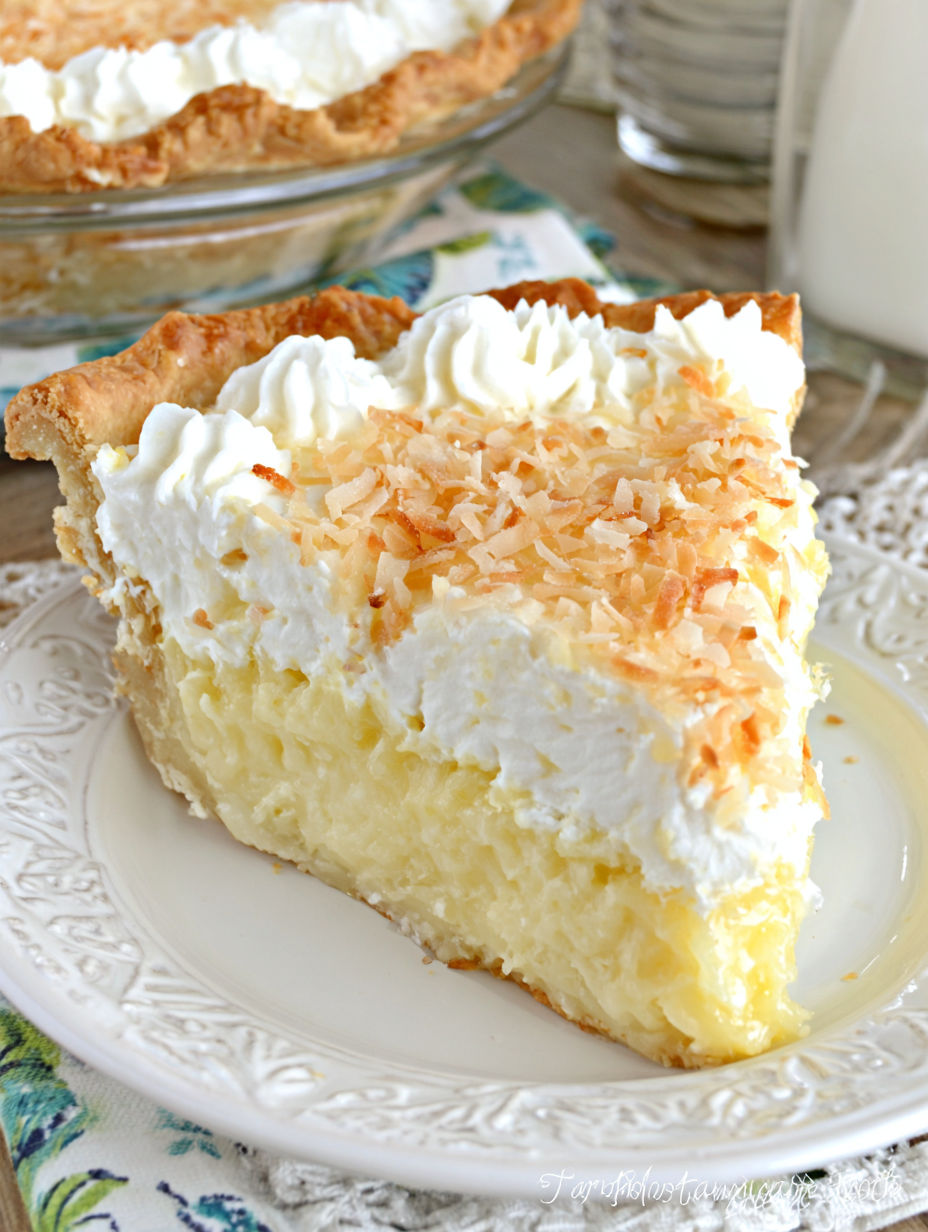
This homemade coconut cream pie brings together a flaky crust, a rich and silky coconut custard filling, billows of fresh whipped cream, and a topping of golden toasted coconut. Every bite feels like a celebration of summer and childhood memories. Whether you are making it for holiday gatherings or just to spoil your favorite coconut lover, this classic coconut pie never fails to impress. It is a dessert that tastes like pure nostalgia and love baked in a pie pan.
For me, this pie is pure comfort food. I remember watching my grandmother bake it for every summer picnic, and to this day, it is still the one dessert my family begs me to bring.
Ingredients
- All purpose flour: gives the crust structure and a crisp bite. Look for fresh flour with no stale aroma
- Salt: balances the sweetness and sharpens flavors in every layer
- Shortening: keeps the crust extra flaky and tender. Choose a high quality brand for best results
- Cold water: helps bring the dough together without toughening it
- Large eggs: create the custard’s rich texture. Always use fresh eggs with clean uncracked shells
- Granulated sugar: sweetens the pie and helps stabilize the filling and whipped cream
- Cornstarch: thickens the custard for smooth clean slices. Store in an airtight container for peak performance
- Whole milk: adds lush creaminess and classic dairy flavor
- Unsalted butter: enriches the filling and amps up mouthfeel. Choose real butter over margarine
- Vanilla extract: provides fragrant warmth. Use extract instead of imitation for full flavor
- Sweetened coconut flakes: are the heart and soul of the pie. Freshly opened bags keep the pie moist and aromatic
- Heavy whipping cream: produces stable fluffy topping. Look for cream with a high fat content for best whip
- Toasted coconut: adds crunch and a nutty finish. Use coconut that’s lightly golden and aromatic out of the oven
Instructions
- Make the Pie Crust:
- Combine flour and salt in a mixing bowl. Using a pastry cutter or fork, work in shortening until the mixture has small pea sized bits throughout. Gradually sprinkle in cold water while mixing until a shaggy dough forms. Turn dough onto a lightly floured surface and roll out to fit a deep dish pie pan. Press dough into the pan and crimp the edges. Chill for 15 minutes before baking.
- Blind Bake the Crust:
- Line the chilled pie crust with parchment paper and fill with pie weights or dried beans to weigh it down. Bake at 425 degrees until the edges are beginning to golden then remove weights and continue baking until the bottom is golden brown. Cool completely before filling.
- Prepare the Custard:
- In a stand mixer bowl, beat together eggs sugar and cornstarch using a whisk attachment for at least five minutes until thick and pale. Meanwhile heat milk and butter in a large saucepan just to boiling. With the mixer running, very slowly pour the hot milk into the egg mixture in three stages so the eggs gently warm and do not curdle. Scrape everything back into the saucepan.
- Cook the Filling:
- Place the saucepan over medium low heat. Cook the mixture stirring regularly with a spatula making sure to scrape the bottom while it thickens and forms glossy custard bubbles about ten minutes. When it thickly coats the back of a spoon take off the heat and stir in vanilla.
- Chill the Coconut Filling:
- Transfer custard to a bowl press plastic wrap on the surface and refrigerate until cold and firm at least two hours. This ensures the pie sets cleanly when sliced.
- Add Coconut and Assemble:
- Once chilled fold sweetened coconut flakes into the custard. Spoon the coconut cream filling into the baked pie shell and spread it evenly. Let the filled pie chill again while preparing the topping.
- Whip the Cream:
- In a cold mixing bowl beat the heavy cream and sugar together starting on low and gradually building to high speed until stiff peaks hold on the beater. Use immediately for best results.
- Top and Finish:
- Dollop or pipe clouds of whipped cream over the filling then sprinkle generously with toasted coconut for the final touch. Chill until serving time for neat slices.
My favorite part of this pie has always been scooping up the extra toasted coconut left on the plate after the last slice is gone. The sweet coconut aroma reminds me of my grandma’s kitchen especially in summertime when the windows were open and the pie was cooling on the counter.
Storage Tips
Store the finished pie in the refrigerator loosely covered with plastic wrap. It will stay fresh for up to three days though the whipped cream is best the first twenty four hours. If freezing, wrap the pie well in both plastic and foil and place inside an airtight container for best protection. The texture of the custard holds up well after thawing.
Ingredient Substitutions
You can swap shortening for unsalted butter in the crust if you prefer a more buttery flavor though the crust may be a bit less flaky. If you need a dairy free pie try using full fat coconut milk instead of whole milk and a plant based butter for the filling but note this slightly changes the texture. For a gluten free version substitute a one for one gluten free flour blend in the crust recipe.
Serving Suggestions
This coconut cream pie makes a show stopping dessert after holiday meals or summer cookouts. Serve each slice with extra toasted coconut or even a scattering of fresh berries like raspberries for color and flavor contrast. Pair slices with hot coffee or black tea to balance the pie’s sweetness.
Cultural Note
Coconut cream pie has roots in American home baking and is especially beloved in southern kitchens where coconut was often used in celebration recipes. Passed down through generations, the pie is a fixture at family reunions and major holidays. The tradition of homemade whipped cream topping sets this pie apart from its store bought cousins.
Seasonal Adaptations
Three helpful notes for seasonal changes. Use fresh local eggs and milk in spring for best flavor. In summer chill the finished pie well and serve extra cold. For special holidays add a sprinkle of grated nutmeg or thin lemon zest to the whipped cream topping.
Success Stories
I have made this pie for countless gatherings and it never fails to bring smiles and second helpings. The first time I made it on my own I nearly burned the coconut under the broiler but everyone still raved about that crispy finish. My family is convinced this is the pie that makes any celebration feel official.
Freezer Meal Conversion
To freeze, assemble pie as directed and wrap tightly. Layer with both plastic and foil then tuck into a freezer safe container. Thaw overnight in the fridge before serving and give the whipped cream a quick freshen up with a whisk if needed.

Serve every slice with a smile and extra whipped cream if you wish. This pie is sure to become a treasured tradition in your kitchen too.
Common Questions About Recipes
- → Can I use store-bought crust?
Yes, a pre-made pie crust can be used, but a homemade crust offers superior flakiness and flavor.
- → How do I prevent runny custard?
Thicken the custard with cornstarch, cook to proper temperature, and allow enough cooling time before assembling.
- → Is it possible to freeze the finished dessert?
Yes, the assembled pie with whipped topping can be frozen up to three weeks. Thaw before serving.
- → Why use real whipped cream instead of topping alternatives?
Fresh whipped cream provides a rich, natural flavor and texture that complements the creamy coconut filling.
- → How can I toast coconut safely?
Spread coconut flakes on a baking sheet and bake at 350°F, stirring every few minutes until golden brown.