 Pin to Save
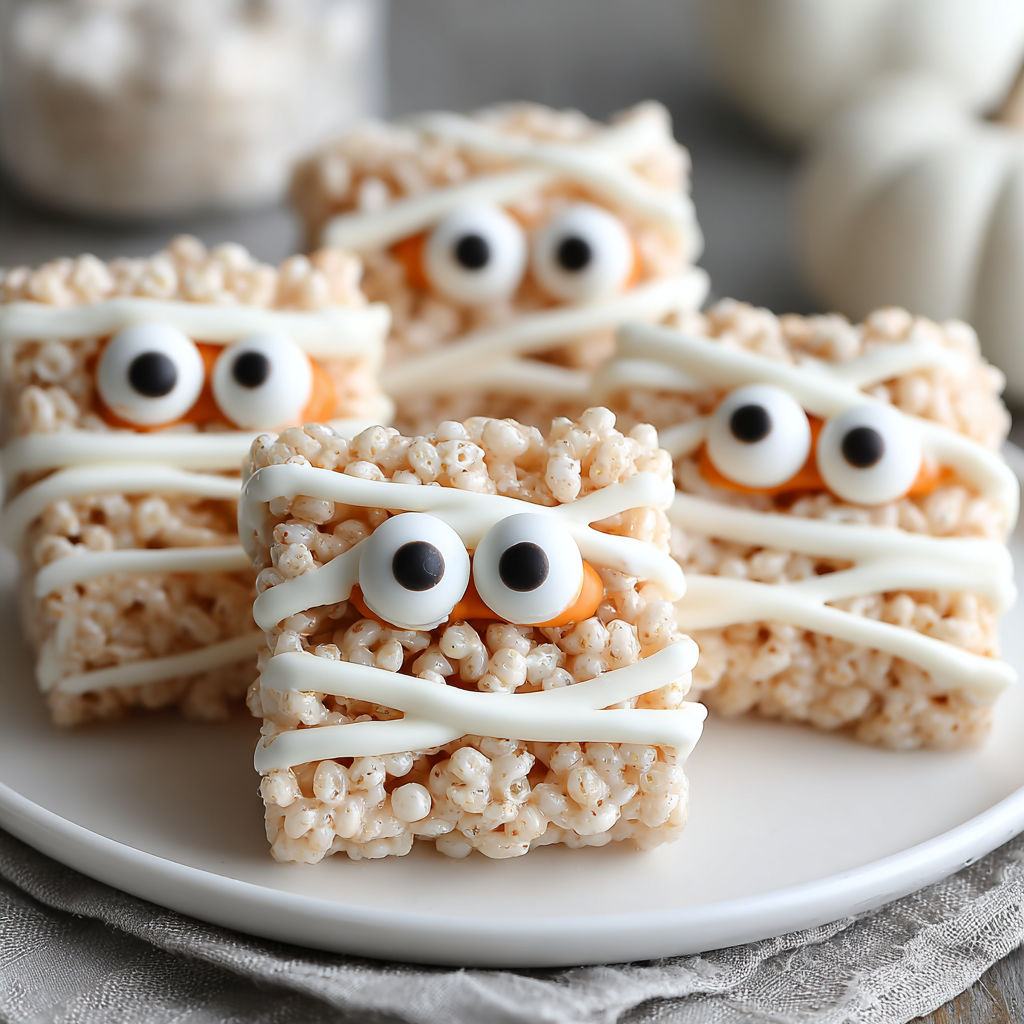
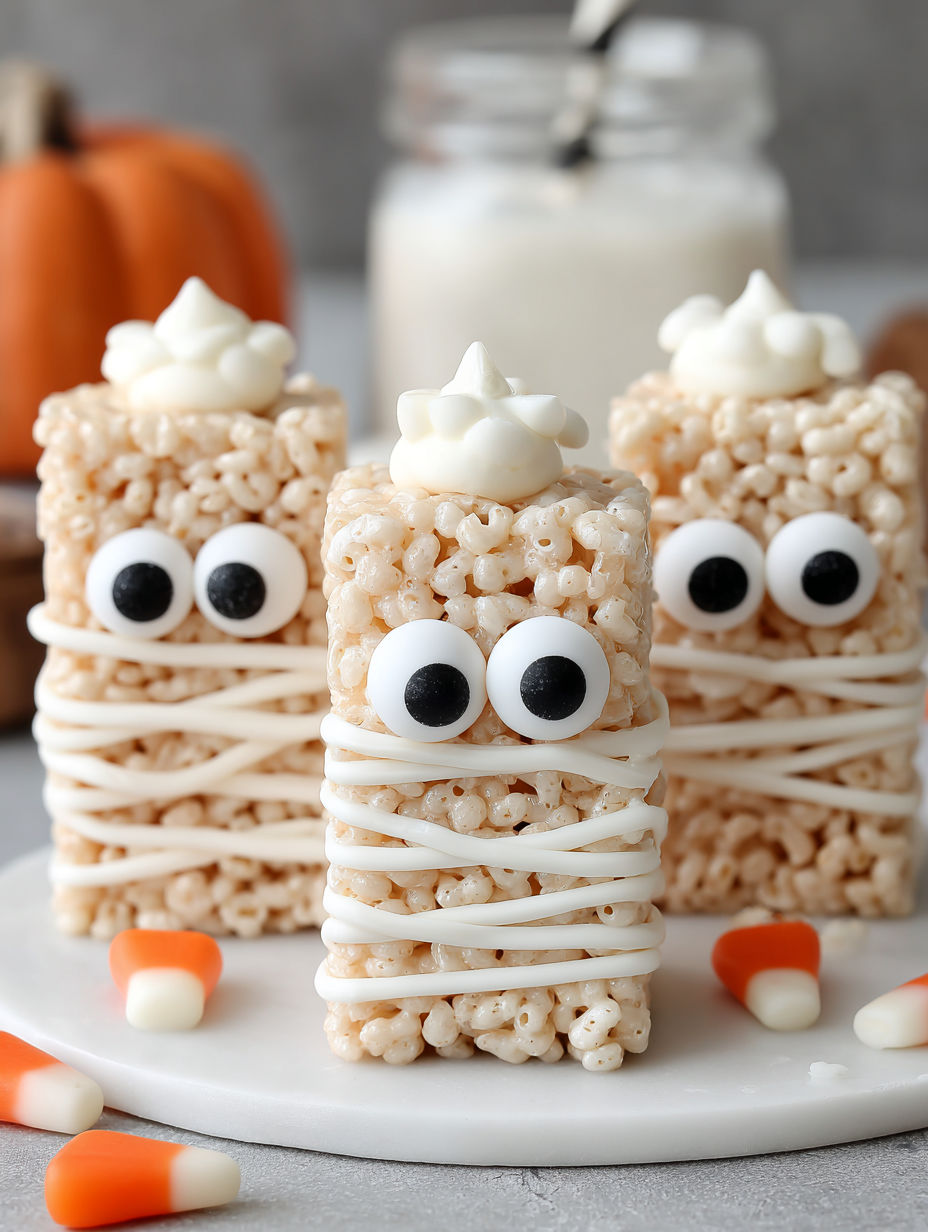
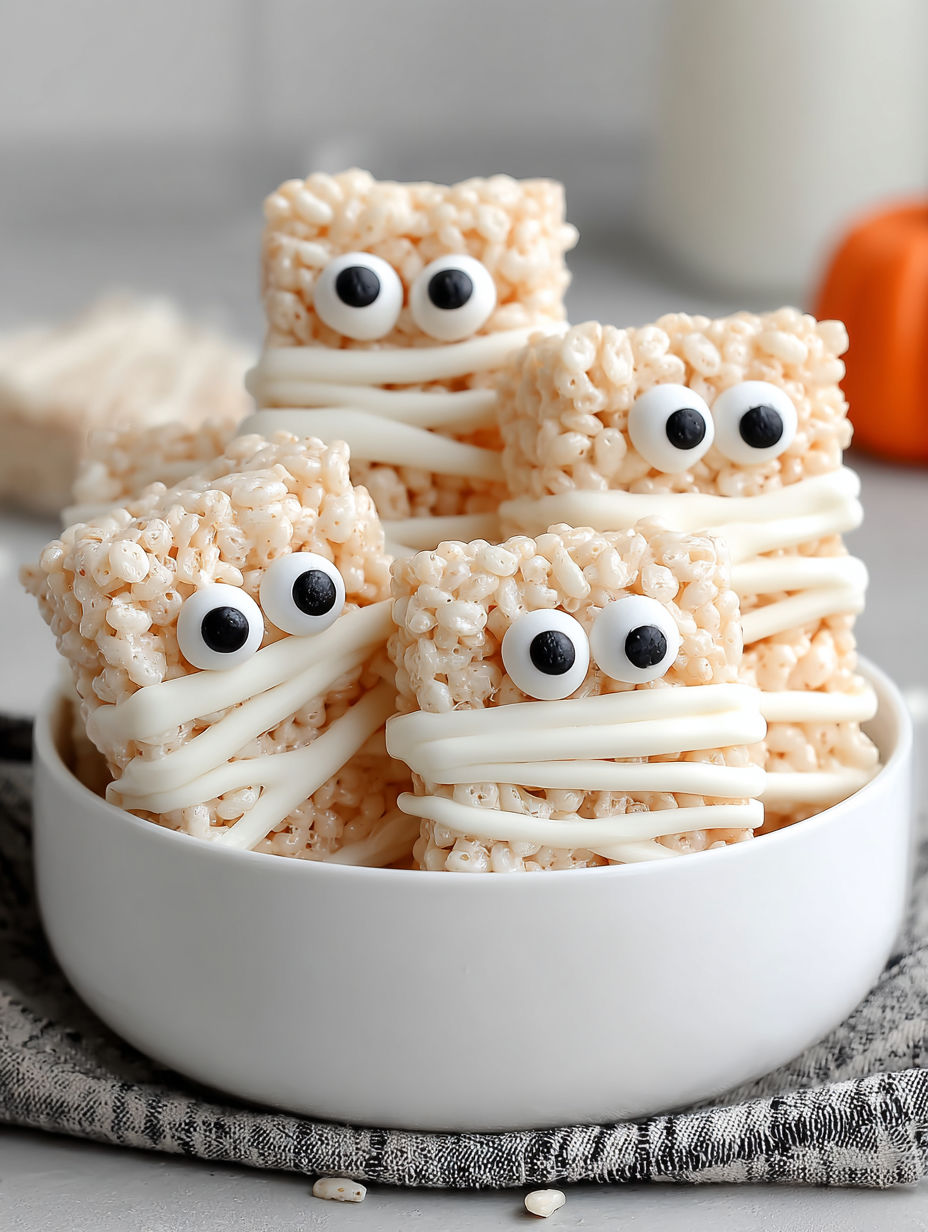
These Rice Krispie Mummies are a playful, nobake treat that’s as fun to make as it is to eat, perfect for sharing during Halloween gatherings or cozy nights at home. All you need are a few simple ingredients—Rice Krispies, mini marshmallows, a little butter, and melted white chocolate—to transform an everyday snack into a batch of silly, sweet mummies with candy eyeballs peeking out. Much like trading candy after trickortreating or baking monster cookies in costume, making these brings out that special sense of togetherness and delight unique to fall celebrations.
I first made these with my niece during a last minute Halloween party, and they were such a hit that we’ve made them every year since. Kids and adults both love the silly spooky design and the sweet crispy texture.
Ingredients
- Unsalted butter: Three tablespoons to give the treats a rich, smooth flavor use fresh, high quality butter for the best taste
- Mini marshmallows: One 10 ounce bag that melt to create the sticky binding for the cereal fresh marshmallows melt best for a gooey texture
- Rice Krispies cereal: Six cups toasted rice cereal for that classic crispy base opt for fresh cereal to keep treats light and crunchy
- White chocolate chips: One and a half cups that melt smoothly for decorating the mummy bandages choose good quality chocolate that melts evenly
- Candy eyeballs: Two per mummy for cute and spooky eyes that bring these treats to life available at most craft or baking stores
- Coconut oil: Two teaspoons optional to add to melted white chocolate for an ultra smooth, pipeable consistency
Instructions
- Prepare Your Pan and Ingredients:
- Lightly grease a nine by thirteen inch nonstick pan with butter or spray This step ensures your treats will release easily after setting Have all your ingredients measured and ready to go so you can work quickly once the marshmallows melt Quick assembly keeps the cereal crisp and prevents sogginess
- Melt Butter and Marshmallows:
- In a large, heavy bottomed nonstick pot set on medium low heat melt the butter slowly Add the mini marshmallows and stir constantly with a silicone spatula until completely melted and smooth It is important to remove from heat the moment everything is melted to avoid tough marshmallows
- Combine with Rice Krispies:
- Immediately pour the Rice Krispies cereal into the melted marshmallow mixture Using a buttered spatula or clean greased hands fold everything gently until the cereal is evenly coated Work quickly because the mixture will begin to set fast
- Press into Pan:
- Transfer your coated mixture to the prepared pan Using gentle but firm pressure press the cereal mixture evenly into a flat layer Avoid packing it too tightly as this will make the treats dense and hard
- Cool and Cut:
- Let the treats cool at room temperature for about twenty minutes to firm up Once set use a sharp greased knife to cut the mixture into rectangles or squares about mummy size
- Melt and Pipe White Chocolate:
- Melt the white chocolate chips with the optional coconut oil in short twenty second bursts in the microwave stirring well between each until the chocolate is silky smooth Transfer this to a piping bag or resealable plastic bag with a tiny tip cut off for easy drizzling
- Decorate Mummies:
- Drizzle the melted white chocolate across each Rice Krispie piece in a crisscross pattern to mimic mummy bandages While the chocolate is still soft quickly add two candy eyeballs to each piece to give them character
- Set and Serve:
- Allow the decorated treats to sit undisturbed until the white chocolate hardens To speed this up pop the pan into the fridge for a few minutes Serve on a festive Halloween platter for maximum fun
One of my favorite memories cooking this recipe was with my nephew, who wanted to add extra candy eyes because he thought mummies would need to see in both directions. It was these small touches that made the process feel special and joyful.
Storage Tips
Store Rice Krispie Mummies in an airtight container at room temperature to keep them fresh for up to three days For longer storage place in the fridge but note they will become firmer Avoid humid areas as moisture can soften the treats
Ingredient Substitutions
Use puffed quinoa or certified gluten free brown rice cereal for a gluten free or more nutritious twist These alternatives bring a slightly earthier flavor and chewier texture that pairs surprisingly well with the sweet bandages Substitute vegan butter or coconut oil for unsalted butter to make the treat dairy free
Serving Suggestions
Serve these mummies alongside hot cocoa or spiced apple cider for a cozy celebration Add a pinch of flaky sea salt or edible glitter on the white chocolate before it sets to impress guests with a grown up flair
These Rice Krispie Mummies are simple, festive, and perfect for sharing with family and friends. Have fun decorating and make it your own.
Common Questions About Recipes
- → Why do my treats turn out hard?
Pressing the mixture too firmly or overcooking the marshmallow mixture can make treats hard. Use gentle pressure and remove from heat promptly.
- → How can I melt white chocolate smoothly?
Heat in short bursts and stir often. Adding a bit of coconut oil helps achieve a silkier, lump-free texture.
- → What’s the best way to store these treats?
Keep in an airtight container at room temperature up to 3 days or refrigerate for longer storage, though chilling may firm them up.
- → Can these treats be made ahead?
Yes, prepare them up to 2 days in advance and decorate just before serving to keep decorations crisp.
- → How do I double the batch for a party?
Use a larger pan or multiple pans and increase white chocolate and candy eyes accordingly. Mix in batches to avoid premature setting.