
 Pin to Save
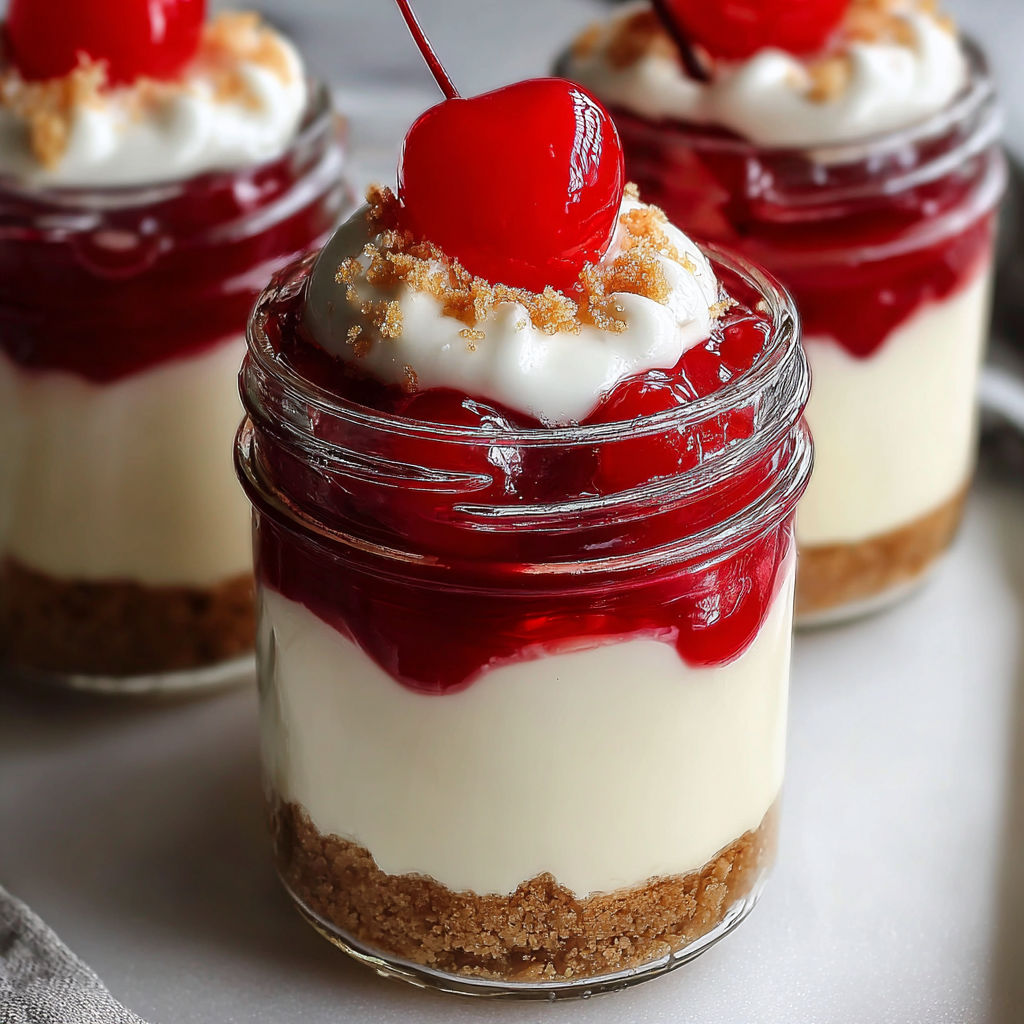
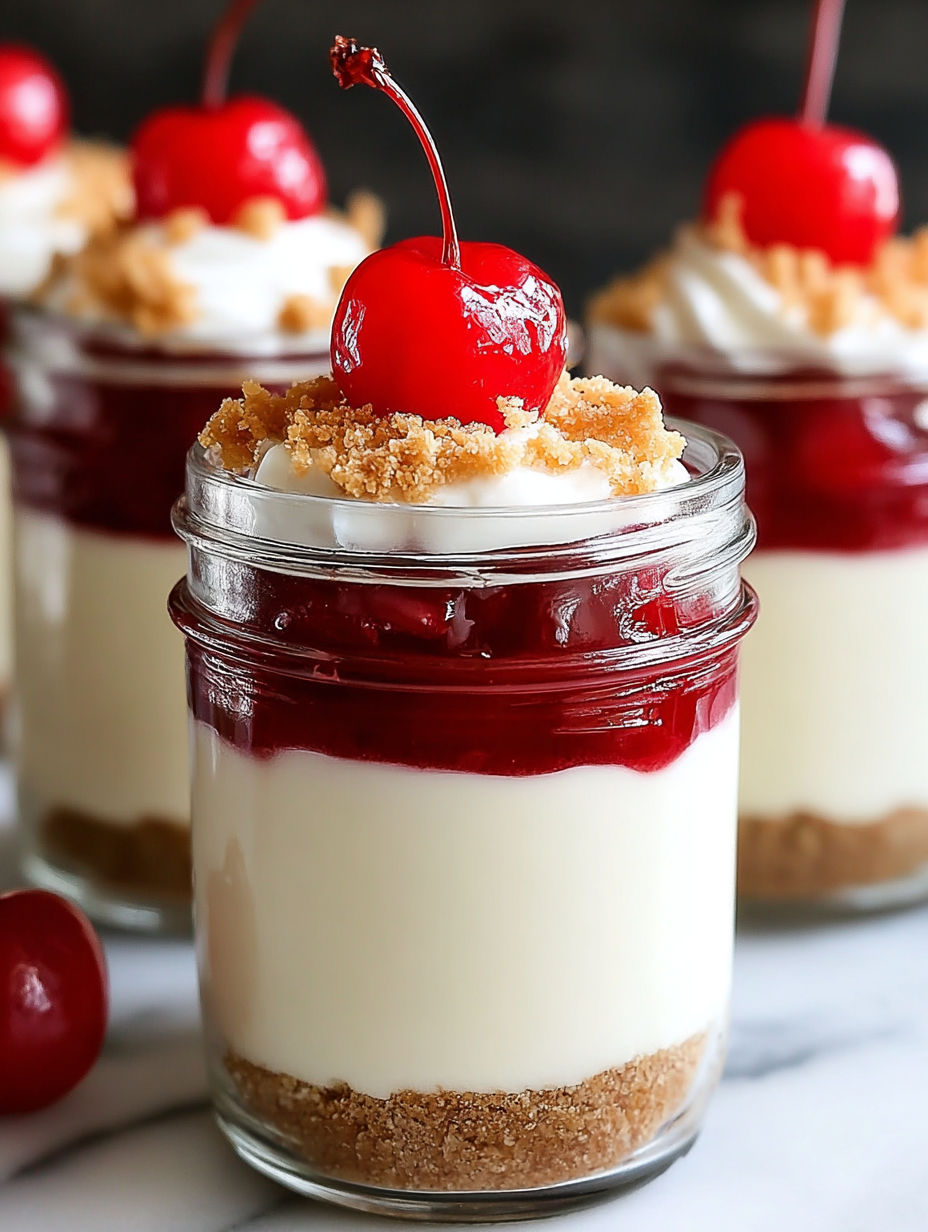
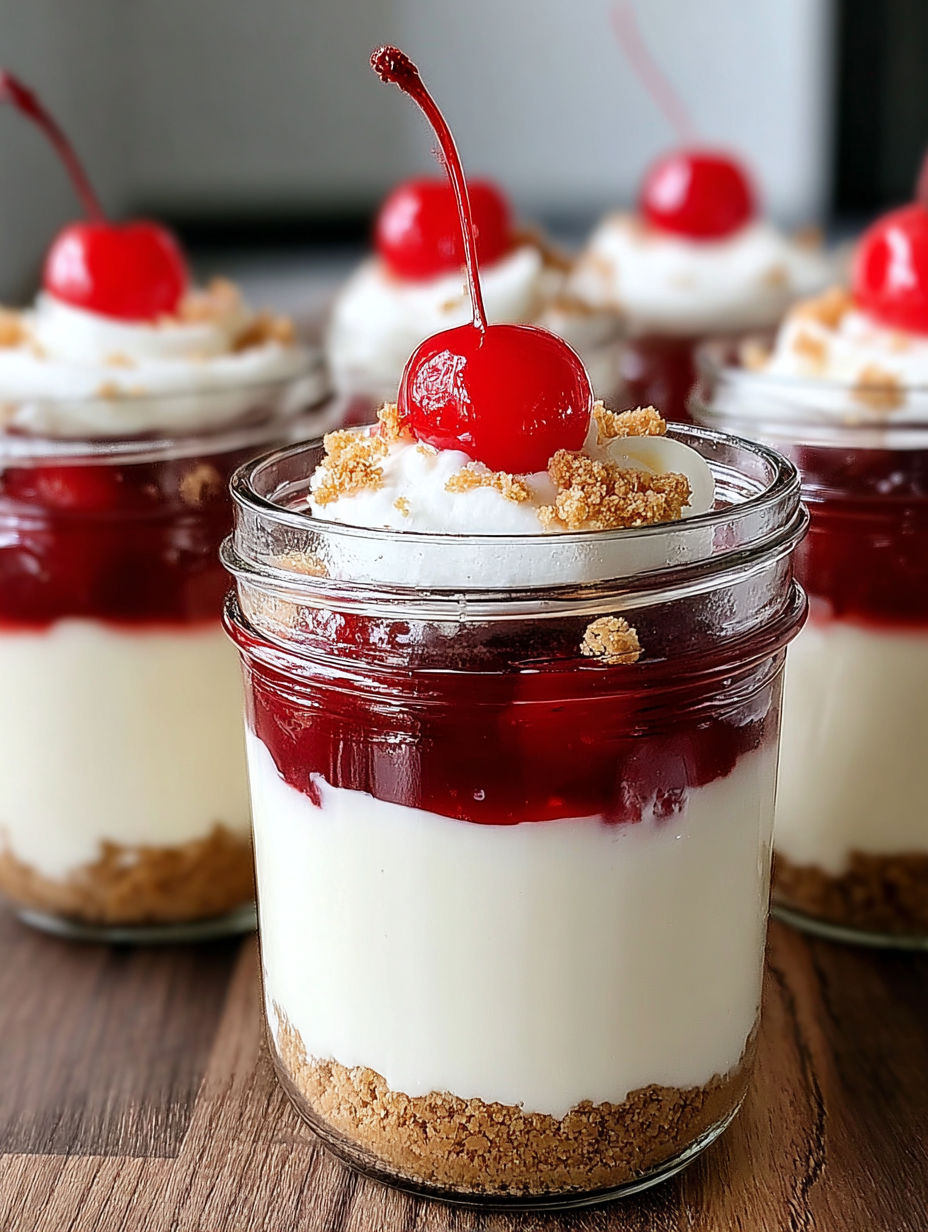
Cheesecake in a jar is my go—to dessert when I want something quick, impressive, and absolutely satisfying. The creamy layers against a buttery graham crust topped with bright cherry filling come together in a snap and always get rave reviews. Each jar feels special and personal, turning a classic treat into a fun handheld delight for parties, picnics, or just to spoil someone at home.
I first made these for a family BBQ and they disappeared before dinner even began. Now I bring a batch to every get—together and people ask for the “jarred cheesecakes” in advance
Ingredients
- Graham cracker crumbs: crucial for the base and use the freshest you can find or make your own by pulsing crackers in a food processor
- Butter: melted butter binds the crumbs together and adds rich flavor use real butter for best taste
- Granulated sugar: brings a slight crunch to the crust and helps balance flavor choose fine white sugar
- Cream cheese: always go for full—fat blocks softened for the silkiest and creamiest layer
- Confectioners sugar: sweetens the filling and dissolves perfectly for smooth texture sift it for best results
- Vanilla extract: adds warmth and complexity opt for pure vanilla over imitation for more depth
- Heavy cream: when whipped it creates a light airy texture select cream with a high fat content
- Cherry pie filling: classic topping that adds color and sweetness look for whole cherries and a glossy finish
Instructions
- Prepare the Crust:
- Start by blending graham cracker crumbs with melted butter and sugar in a mixing bowl until the mixture resembles wet sand make sure there are no dry spots for best results. Spoon the crumb mixture evenly into the bottom of six jars and use a small glass or spoon to press the crumbs into a firm flat layer so it holds together.
- Mix the Cream Cheese Filling:
- Using a mixer beat softened cream cheese with confectioners sugar and vanilla in a separate bowl on medium high speed until smooth creamy and lump free you want the texture super silky for the most decadent result.
- Whip the Cream:
- In a clean mixing bowl whip heavy cream on high speed until soft peaks form do not overwhip or it may go grainy the cream needs airiness for the final texture.
- Fold the Mixtures Together:
- Carefully combine the whipped cream with the cream cheese blend using a spatula gently fold until fully homogenized but still light be gentle to avoid deflating the mix.
- Pipe the Filling into the Jars:
- Transfer the combined filling to a piping bag snip the end and fill each jar above the crust you want a generous layer right to the top and piping makes it neater than spooning.
- Add Your Toppings:
- Finish by adding a few spoonfuls of cherry pie filling over each jar aiming for whole cherries and a generous drizzle of syrup for a punch of color and sweetness.
I am passionate about using real vanilla in this recipe it makes every bite feel like a little luxury and reminds me of baking with my grandmother who insisted on sniffing the bottle before every use
Storage Tips
If you make these ahead tuck them in the fridge with lids or tightly covered with plastic wrap They stay at peak freshness for up to five days Stack them at the back of the fridge where temperature stays most constant For longer storage freeze the jars well wrapped for up to two months Thaw overnight in the fridge before serving and they taste just as dreamy
Ingredient Substitutions
No graham crackers Swap in crushed digestive biscuits or gingersnaps Use gluten free cookies as needed Instead of cherry topping try blueberry compote or swirls of lemon curd If you are out of heavy cream you can use whipped topping just fold it in as usual and avoid overmixing
Serving Suggestions
I love serving these with an extra scatter of fresh berries on top Sometimes a drizzle of caramel or dark chocolate makes them feel special for company If you are planning a party tie a ribbon around each jar and add a tiny spoon for a charming presentation
Cultural or Historical Context
Cheesecake itself has roots stretching back to ancient Greece and has morphed into countless variations across the world This single serving version takes its cues from classic American no bake cheesecakes and turns it into a fun portable dessert for modern gatherings
Seasonal Adaptations
Swap cherry for peach slices when summer rolls around Try pumpkin puree and a little cinnamon for autumn Garnish with peppermint candies for a winter holiday spin
Success Stories
Many readers say these jars have become a staple at baby showers and birthdays Some have doubled the recipe for summer picnics and others used them as party favors at weddings I love how adaptable the recipe is to any theme or celebration
Freezer Meal Conversion
You can freeze assembled jars without topping for up to eight weeks Let them thaw overnight in the fridge add fresh topping just before serving and they taste like they were made that day This trick saves time for big events or unexpected guests
These cheesecakes in a jar are an effortless showstopper for any event. Whip up a batch and share the sweetness—your friends and family will be wowed.
Common Questions About Recipes
- → How should I prepare the crust layer?
Blend graham cracker crumbs with melted butter and sugar, then press firmly into each jar's base for a solid foundation.
- → What’s the best way to achieve a creamy filling?
Use softened cream cheese and whip with confectioners’ sugar and vanilla, then fold in freshly whipped cream gently for ultimate smoothness.
- → Can I change the topping flavors?
Absolutely! Swap cherry pie filling with blueberries, strawberries, or even lemon curd for a new twist.
- → Is chilling necessary before serving?
Yes, refrigerate at least two hours so the layers set and flavors develop fully for the best texture.
- → How can I make this gluten-free?
Replace graham cracker crumbs with gluten-free alternatives or finely chopped nuts for a delicious gluten-free base.
- → What’s the shelf life of the jars?
Stored in an airtight container in the refrigerator, the jars stay fresh for up to five days.