
 Pin to Save
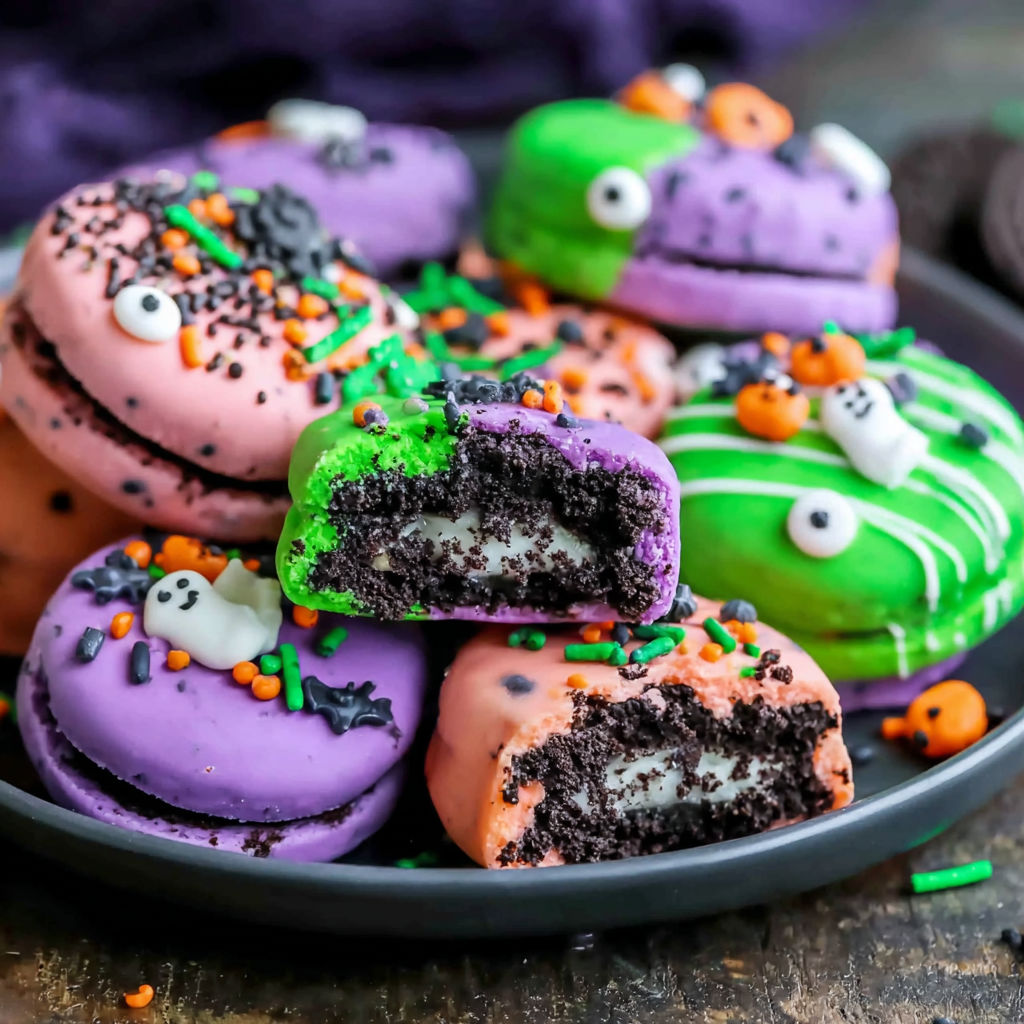
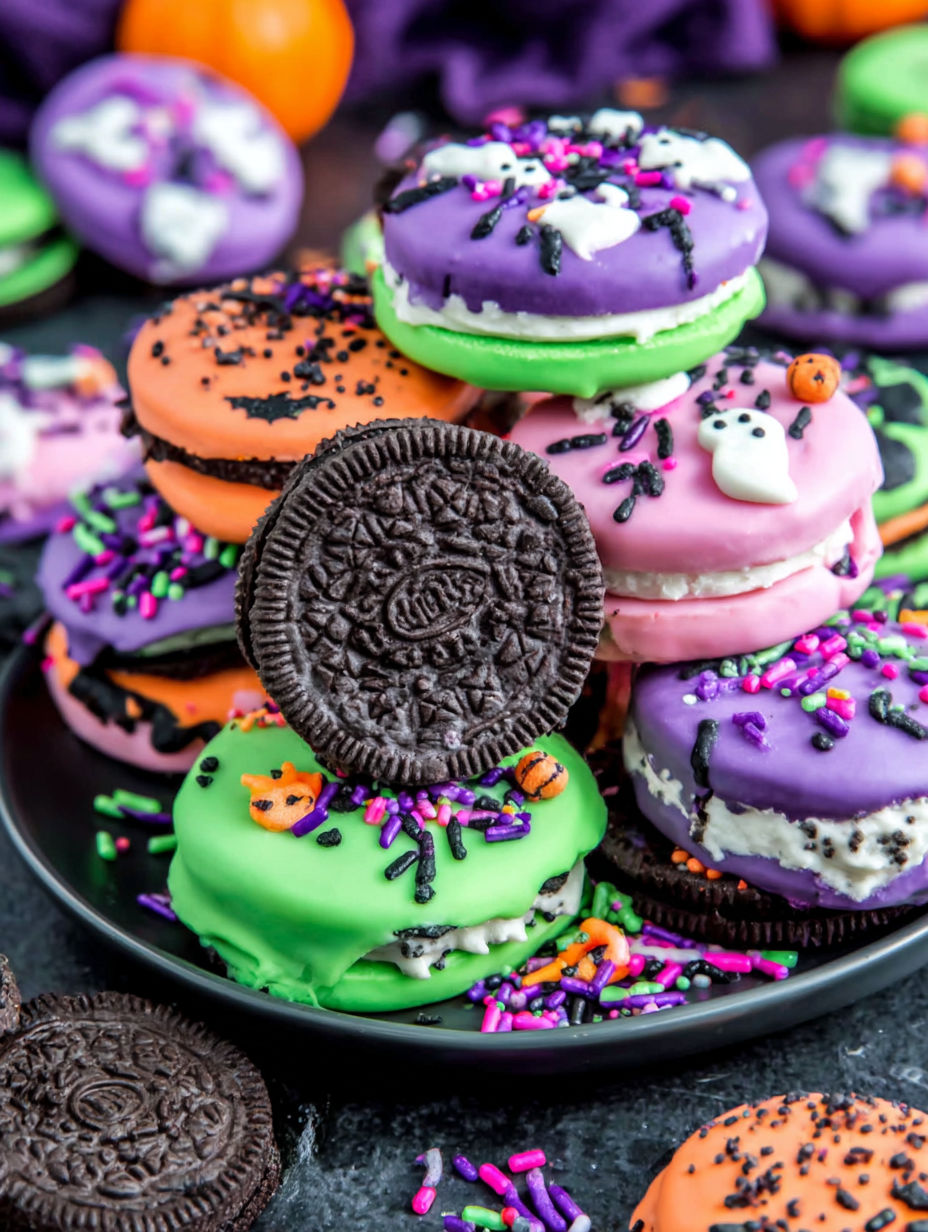
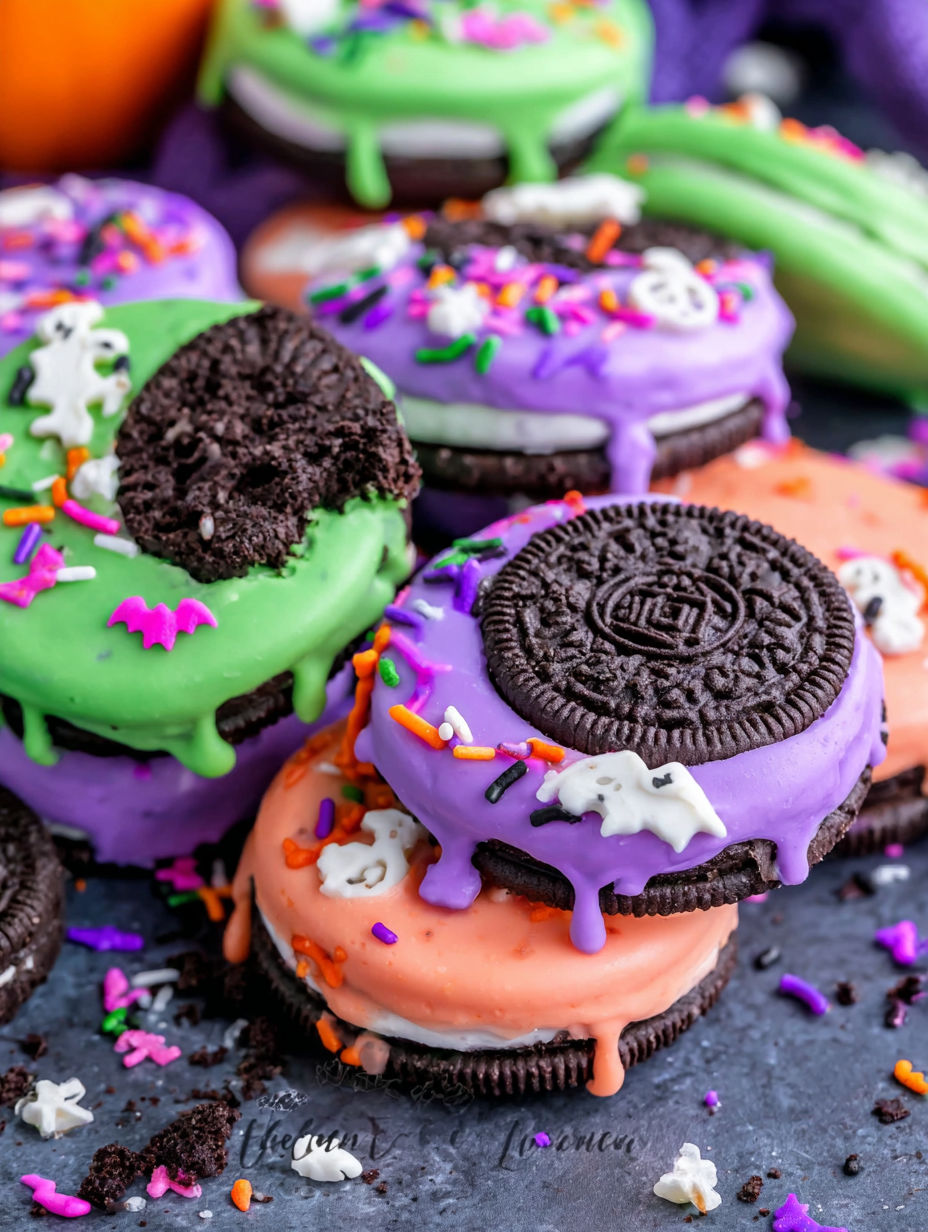
These colorful chocolate dipped Oreos bring a fun and festive touch to Halloween celebrations. With just a few ingredients and no baking involved, they are perfect for whipping up a quick treat that kids can help make. The vibrant purple, green, and orange candy coatings combined with spooky sprinkles transform simple sandwich cookies into standout party snacks or delightful gifts.
I first made these Oreos for my daughter's school party and the kids loved getting creative with the sprinkles. Now they ask to make them every Halloween because it is such a fun activity and a tasty treat.
Ingredients
- 12 Oreo cookies: the classic base for that perfect chocolate and cream combo
- Purple melting wafers: add a bright and festive coating choose good quality candy melts for smooth coverage
- Green melting wafers: another bold candy coating color also opt for premium melts to avoid clumping
- Orange melting wafers: classic Halloween orange sets the tone pick melts that melt evenly for best results
- Halloween sprinkles with shapes like bats pumpkins ghosts and candy eyeballs: essential for spooky decoration and texture
Instructions
- Prepare workspace:
- Line up and prepare your workspace by lining a baking sheet with parchment paper or a silicone mat. Separate the Halloween sprinkles into small bowls to keep things organized and accessible during decorating.
- Separate colors:
- Divide the purple green and orange melting wafers into three microwave safe bowls to keep colors separate and neat.
- Melt wafers:
- Melt the wafers one bowl at a time in the microwave using 30 second bursts. After each burst stir well until the chocolate is silky smooth without lumps. Patience here ensures the coating will be shiny and easy to dip into.
- Dip Oreos:
- Grab a fork or a dipping tool and submerge each Oreo completely in your chosen melted candy color. Hold it over the bowl and let the excess drip off. Then gently place it on your prepared baking sheet.
- Divide colors:
- For variety dip four Oreos in purple four in green and four in orange. This creates a vibrant plate full of Halloween spirit.
- Decorate with sprinkles:
- Quickly while the candy coating is still soft cover each Oreo with Halloween sprinkles generously. Mix and match designs on each cookie so every one looks festive and unique. This is the fun part especially if kids are involved.
- Set to harden:
- Allow all the Oreos to rest at room temperature until the candy coating is fully hardened about 30 minutes to an hour. Alternatively speed up the process by placing them in the refrigerator for about 15 minutes.
- Store or serve:
- Once set arrange the Oreos on a themed platter or store them in an airtight container. They will keep for several days making them perfect for party prep or trick or treat giveaways.
I always loved how easy it was to customize these Oreos with different sprinkles and colors. One Halloween my kids turned the kitchen into a mini workshop while decorating — it was messy but pure fun and some of my favorite holiday memories.
Storage Tips
Keep your finished Halloween Oreos in an airtight container at room temperature if you plan to eat them within a day or two. For longer storage pop them in the refrigerator which will help maintain freshness and keep the candy coating firm. Avoid storing them in warm places as the candy melts can soften and become sticky.
Ingredient Substitutions
You can use white chocolate or standard melting chocolate if you can't find colored wafers then tint it with food coloring gel but be cautious as liquid coloring can affect the texture. For sprinkles any holiday themed decorations will work or even edible glitter for a magical touch.
Serving Suggestions
Present the cookies on a themed plate or in treat bags tied with festive ribbon for easy party favors. These Oreos pair wonderfully with a cold glass of milk or a warm cup of apple cider on a crisp fall evening. They also make nice additions to dessert tables alongside cupcakes and candy bowls.
These Halloween Chocolate Covered Oreos are quick to make and great for parties. They're an easy no bake treat the whole family can decorate and enjoy.
Common Questions About Recipes
- → What type of chocolate is best for coating the Oreos?
Melting wafers in festive colors like purple, green, and orange work best as they melt smoothly and harden with a glossy finish.
- → Can I prepare these treats ahead of time?
Yes, once coated and decorated, the Oreos can be stored in an airtight container for several days, keeping them fresh and crunchy.
- → How do I ensure the coating hardens properly?
Allow the dipped Oreos to set at room temperature for 30-60 minutes or refrigerate for about 15 minutes to speed up the process.
- → What decorations work well for a festive touch?
Use Halloween-themed sprinkles such as bats, pumpkins, ghosts, and candy eyeballs to add spooky and colorful details.
- → Is baking required for these treats?
No baking is necessary; simply dip and decorate the cookies using melted wafers for a quick, no-heat dessert.