 Pin to Save
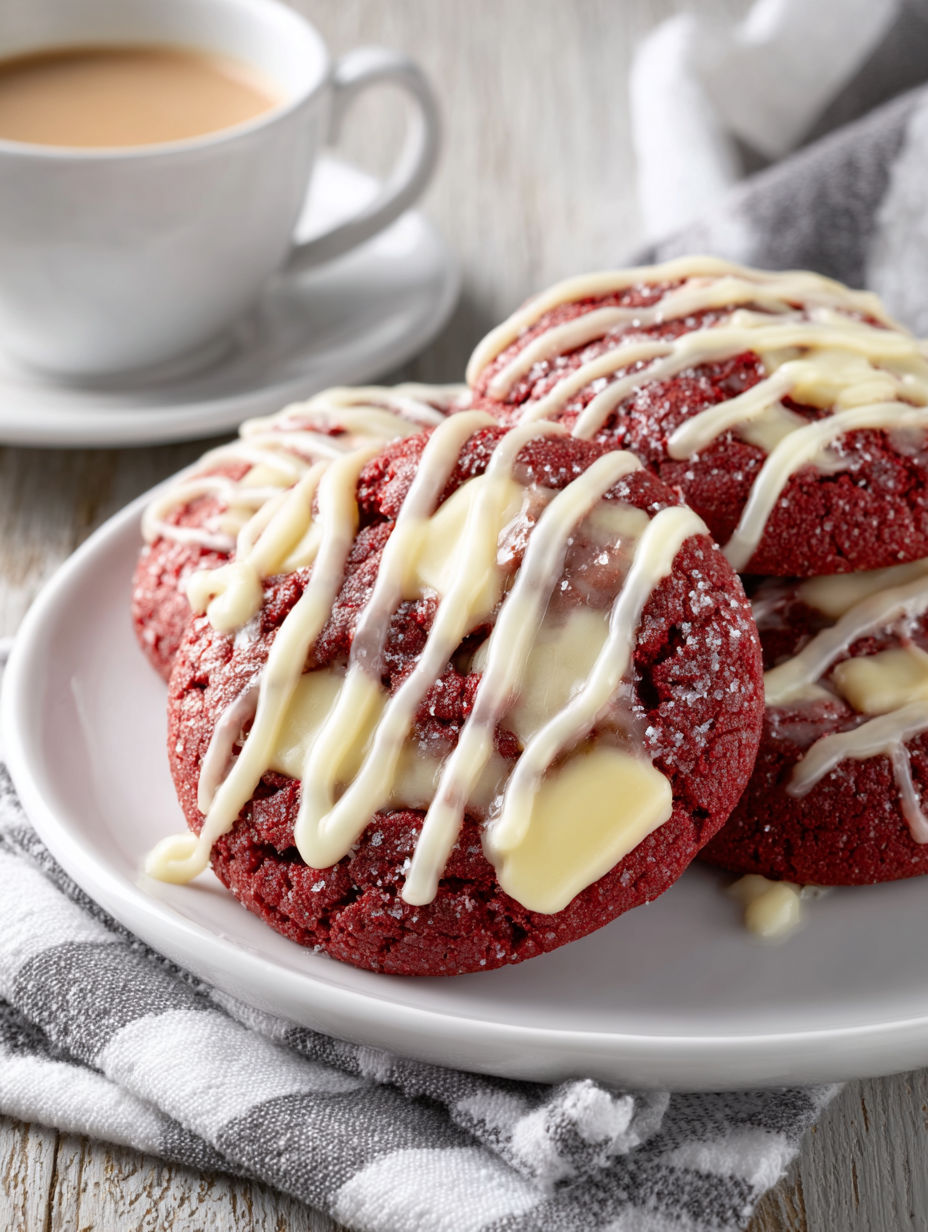
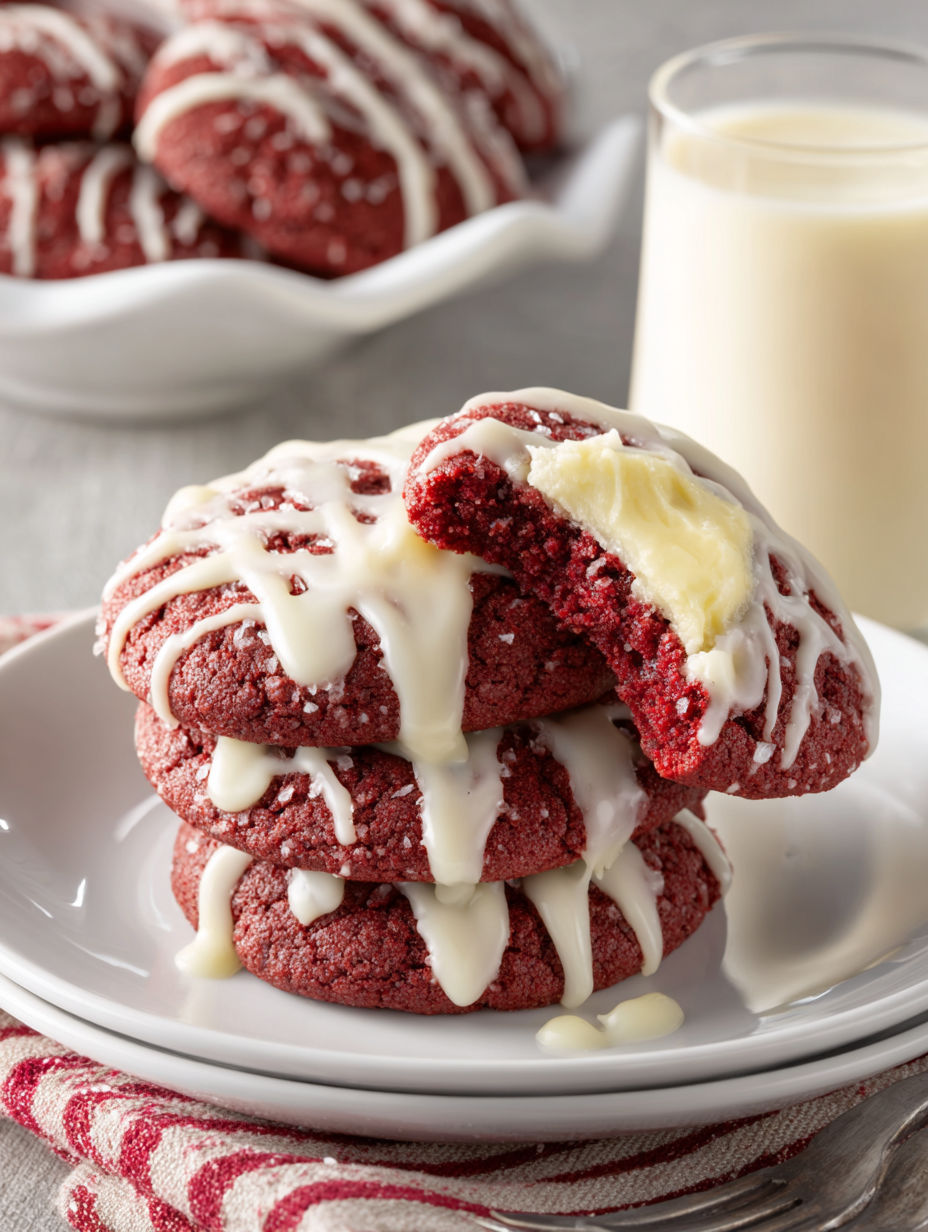
These red velvet cookies with cream cheese glaze bring a festive touch to any celebration, whether it is Valentine’s Day, Christmas, or a joyful birthday gathering. The soft cocoa flavored cookies paired with a rich, tangy glaze create a comforting treat that feels special with every bite. Baking these has always been a heartwarming tradition for me and my college roommates, turning simple holidays into moments full of laughter and camaraderie.
I remember how these cookies brought extra smiles during Valentine’s Day, making a simple kitchen feel like a festive bakery.
Ingredients
- Allpurpose flour: the base for tender structure choose unbleached for best flavor
- Unsweetened cocoa powder: imparts rich chocolate flavor use high quality Dutch processed for smoother taste
- Baking soda: helps the cookies rise and become light
- Salt: balances sweetness and enhances flavors
- Unsalted butter softened: provides richness and a tender crumb room temperature is key for smooth mixing
- Light brown sugar: adds moisture and subtle caramel notes
- Granulated sugar: helps with the crisp edges and sweetness
- Large egg: binds the ingredients and adds moisture
- Whole milk: enhances tenderness and dough cohesion
- Red food coloring: creates the vibrant red color synonymous with red velvet cookies quality liquid or gel works best
- Pure vanilla extract: deepens flavor complexity
- White vinegar: brightens red color and lightens texture slightly
- Cream cheese softened: tangy and smooth base for glaze fullfat cream cheese produces best creaminess
- Unsalted butter softened (for glaze): adds richness and body
- Powdered sugar: sweetens and helps thicken glaze
- Pure vanilla extract (for glaze): enhances flavor
- Whole milk (for glaze): thins glaze to perfect drizzling consistency
Instructions
- Prep the Dry Ingredients:
- Begin by whisking the flour cocoa powder baking soda and salt in a medium bowl Take care to fully combine the cocoa powder evenly for a consistent chocolate taste in every cookie This ensures that no pocket of flour or cocoa powder remains unblended which can affect texture and flavor
- Cream Butter and Sugars:
- In a large bowl beat the softened butter with both sugars using a hand or stand mixer Continue mixing until the mixture looks light in color and fluffy in texture This aeration is crucial as it builds the foundation for tender cookies with a pleasant crumb
- Add Wet Ingredients and Color:
- Beat the egg into the butter and sugar mixture until fully incorporated Add the milk red food coloring vanilla extract and white vinegar Mix gently but thoroughly to blend the liquids evenly The vinegar enhances the red hue and contributes to a delicate lift in the final texture so be sure not to skip it
- Combine Wet and Dry Ingredients:
- Gradually add the dry ingredients into the wet mix stirring just until the dough comes together Avoid overmixing at this stage which could result in tougher cookies with less rise
- Shape and Bake the Cookies:
- Preheat your oven to 350 degrees Fahrenheit or 175 degrees Celsius Line a baking sheet with parchment paper Using a spoon or cookie scoop drop rounded tablespoons of dough onto the tray spaced about two inches apart Bake for 10 to 12 minutes The edges should look set but the centers will remain slightly soft Remove from oven and let cool on the baking sheet for 5 minutes before moving them to a wire rack to cool further
- Prepare the Cream Cheese Glaze:
- In a small bowl beat together the softened cream cheese and butter until smooth and creamy Slowly incorporate the powdered sugar and vanilla Add milk a little at a time adjusting until the glaze reaches your preferred drizzling consistency thicker if you like it spread on or thinner for delicate drizzles
- Glaze and Serve:
- Once the cookies are completely cooled drizzle or spread the cream cheese glaze over them Allow the glaze to set for 10 to 15 minutes giving it time to firm slightly while still retaining that creamy texture
I love that cream cheese in the glaze brings a slight tangy edge that cuts through the sweetness beautifully One year my family requested these cookies every holiday turning the recipe into our official festive treat it just feels like a warm hug around the holidays
Storage Tips
Store cooled cookies in an airtight container at room temperature for up to 3 days to maintain softness Keep the glaze in a separate container in the refrigerator and glaze just before serving for best texture For longer storage freeze unglazed cookies in a sealed bag or container for up to 2 months
Ingredient Substitutions
Try beet juice concentrate instead of red food coloring for a natural hue expect a subtle earthy note Use a gluten free 1 to 1 baking flour blend to make this recipe celiac friendly without sacrificing texture Swap cream cheese for vegan cream cheese in the glaze for dairy free options using plant based butter as well to keep the creaminess
Serving Suggestions
These cookies pair delightfully with a glass of cold milk or a warm cup of coffee or tea For a festive twist garnish glazed cookies with crushed peppermint or red sprinkles to enhance the holiday vibe They also make charming edible gifts when wrapped individually in cellophane bags tied with ribbons
These red velvet cookies are perfect for holiday celebrations and make a thoughtful homemade gift. Enjoy warm memories with every bite.
Common Questions About Recipes
- → What gives these cookies their red color?
The vibrant red hue comes from red food coloring, which can be substituted with beet juice concentrate for a natural alternative.
- → How can I achieve a tender cookie texture?
Using room-temperature butter and not overmixing the dough helps maintain a soft, tender texture in the cookies.
- → What is the purpose of white vinegar in the dough?
White vinegar brightens the red color and subtly lifts the cookie's texture, contributing to a light, soft bite.
- → How should I apply the cream cheese glaze?
The glaze can be drizzled or spread over cooled cookies; chilling the glaze slightly helps it set for an appealing finish.
- → Can I make these cookies gluten-free?
Yes, swapping all-purpose flour for a gluten-free 1:1 baking blend preserves the soft texture while accommodating dietary needs.