
 Pin to Save
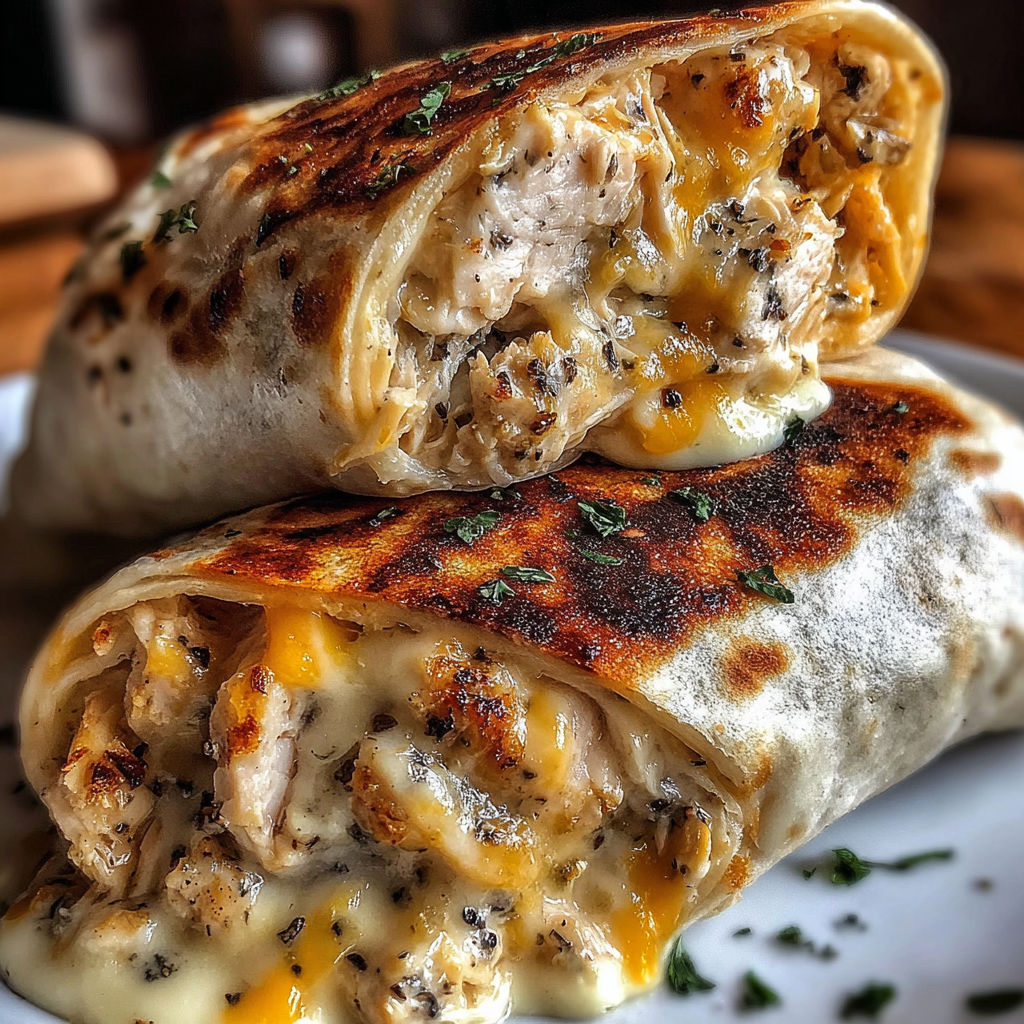
Cheesy garlic chicken wraps became my solution on nights when energy and fridge stocks ran low but comfort was nonnegotiable. Just a skillet, some leftover chicken, and pantry basics transform into golden—crisp wraps that combine buttery sautéed garlic, tangy cream cheese, and a gooey cheese blend. Whether you need lunch in ten minutes or a crowd—pleasing party platter, this wrap delivers with the satisfying crunch and melty center that everyone craves.
I first made these wraps on a night when cereal was looking like our dinner. The creamy garlicky filling completely changed my mood and my teenagers now ask for them on lazy Sundays when we want something cozy without hours spent cooking.
Ingredients
- Cooked shredded chicken: Ideal for using up the last of a rotisserie chicken and makes prep a breeze while keeping the filling juicy and satisfying
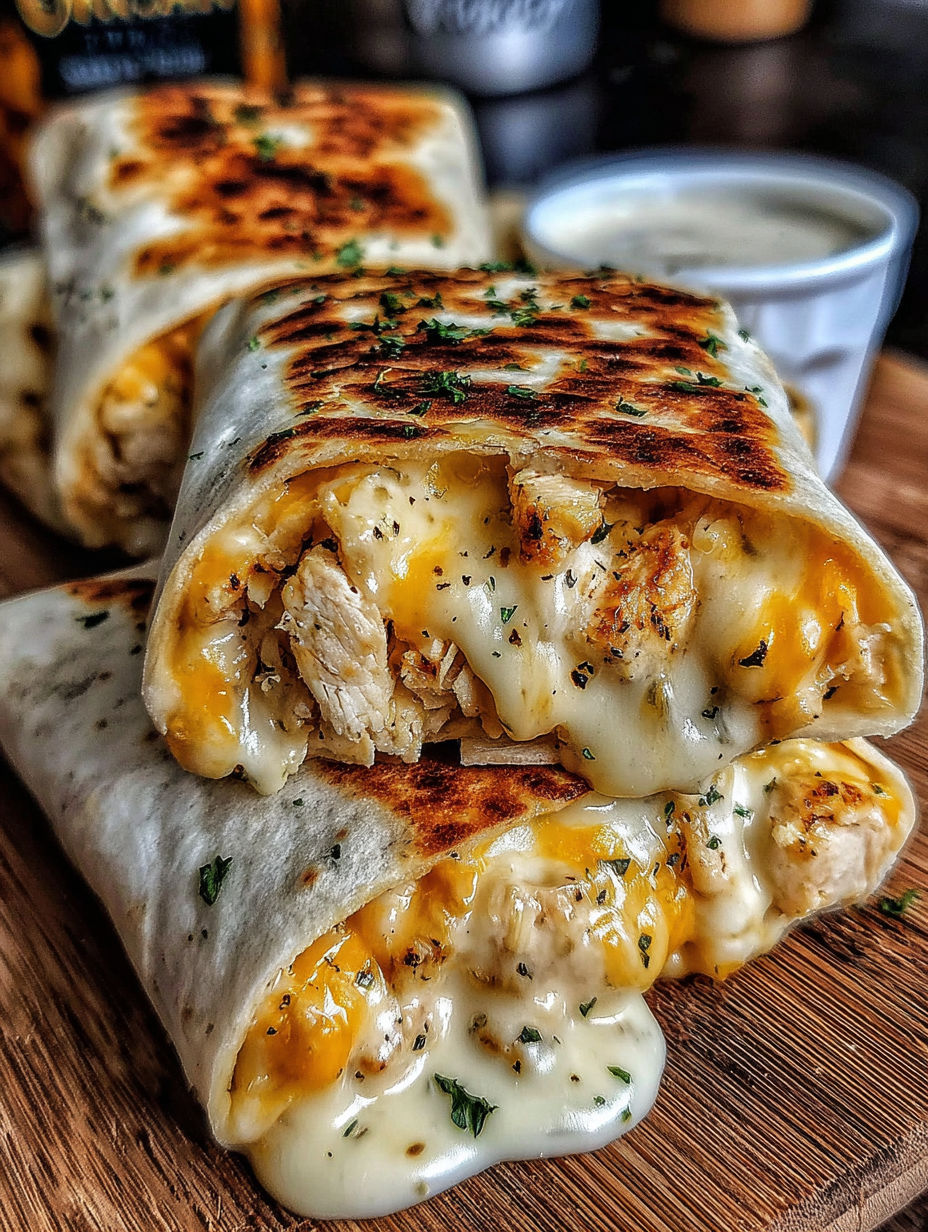
- Shredded mozzarella or cheddar: Freshly grated cheese melts so much better and gives that classic stretchy texture you want in a cheesy wrap
- Cream cheese: Full—fat makes the final flavor and texture so much richer so try to let it come to room temperature for best results
- Fresh garlic cloves: Essential for bold garlicky flavor and aroma that you just do not get from powder alone
- Real butter: Unsalted keeps seasoning balanced and produces that golden crisp crust you need on the outside of each wrap
- Large flour tortillas: The more pliable they are when rolling the fewer filling leaks you’ll have and the tighter the roll will be
- Garlic powder: Bumps up the garlic flavor without any extra moisture or bitterness
- Quality seasonings: Use sea salt and freshly ground pepper which enhance all the right flavors while not overpowering the rest of the filling
Instructions
- Aromatic Foundation:
- Melt the unsalted butter in a medium skillet over medium heat until it begins to foam then add your freshly minced garlic and sauté for one minute stirring constantly until fragrant but not browned. This step makes the difference between bland filling and the rich garlic base that defines this dish.
- Creamy Base Development:
- Reduce the heat a bit and add your room—temperature cream cheese right into the pan. Stir continuously until it fully melts and blends into the garlic butter then add salt pepper and a sprinkle of garlic powder. Keep whisking until smooth and unified with no lumps.
- Protein And Cheese Integration:
- Stir in your shredded chicken and half the freshly shredded cheese blending gently but thoroughly to coat each piece of chicken in the creamy garlic sauce. Let the cheese begin to melt so that the mixture binds together and stays flexible for filling later.
- Assembly Technique:
- Lay a flour tortilla flat and fill the center with one fourth of the creamy chicken mixture. Sprinkle the remaining cheese over the top then fold in both sides before rolling up from the bottom tightly into a secure package so nothing leaks when toasted.
- Golden Toasting Process:
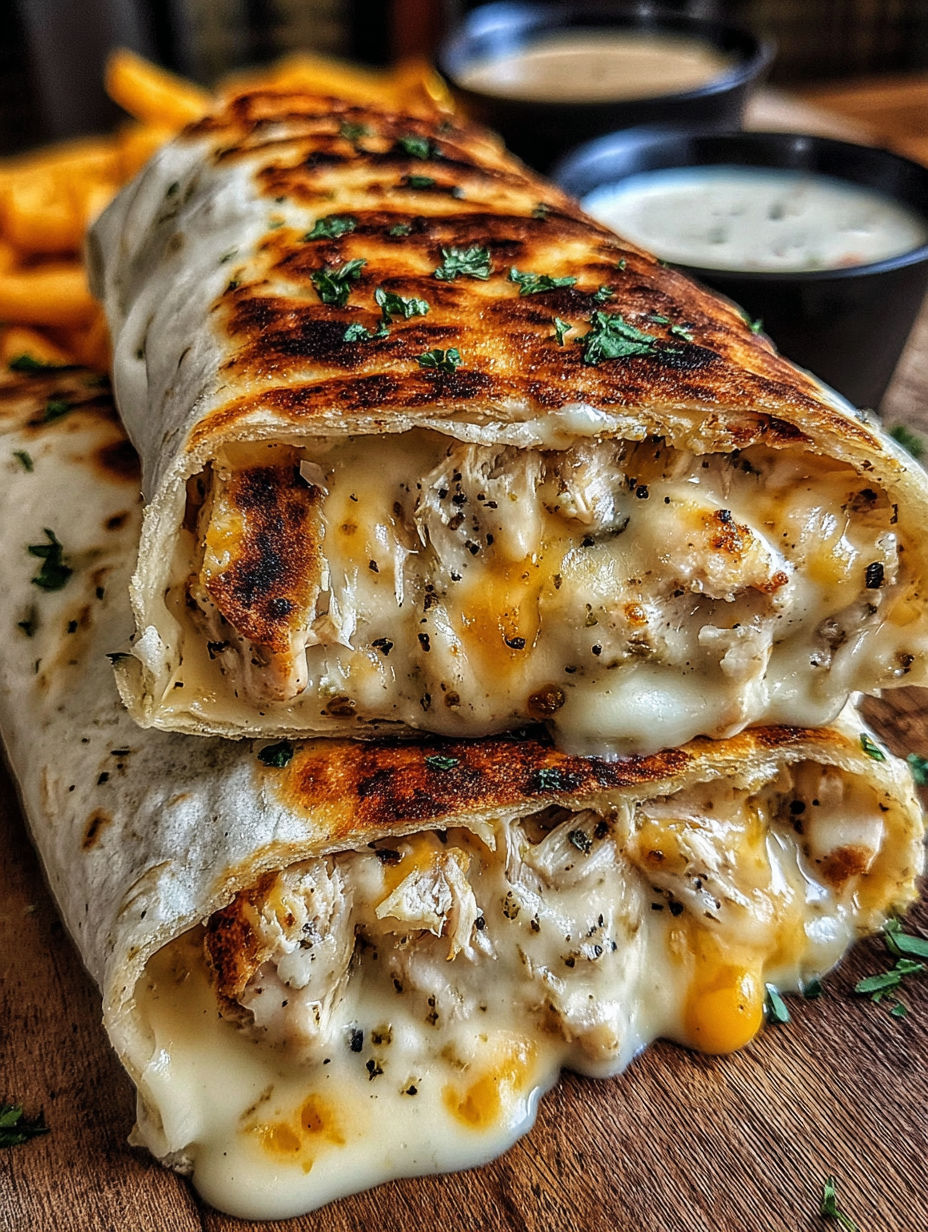
- Place the rolled wraps seam—side down in a clean dry skillet over medium heat pressing gently to ensure contact. Cook two to three minutes per side until deeply golden and crisp on the outside while the center is piping hot and the cheese stretches beautifully as you cut or bite into them.
- Perfect Finishing:
- Rest the finished wraps for a minute or two before cutting diagonally which helps the filling stay put. Slice with a sharp knife to reveal the gooey cheese and chicken laced with garlic creaminess in every perfect bite.
The flavor of freshly sautéed garlic really is the star. My favorite part is letting the kids help roll the wraps and their faces when the cheese stretches as we cut into them — pure dinnertime joy.
Nutritional Highlights
A wrap has around 375 calories and boasts a balance of protein fat and carbs to keep you full without being weighed down. The high protein comes mainly from the chicken and cheese while the modest amount of butter keeps the fat content satisfying but not greasy.
Creative Serving Ideas
Serve cut in half with small bowls of ranch honey mustard or even dippable marinara to give everyone their own favorite pairing. These wraps pair perfectly with crunchy veggies or a mixed green salad if you want something fresh alongside the warm cheesy goodness. For parties make mini versions cut into pinwheels for the ultimate finger food.
Exciting Flavor Variations
Stir in baby spinach or chopped sun—dried tomato before filling for an extra burst of flavor or nutrition. If you love heat try diced jalapeños or a handful of pepper jack instead of mozzarella. For a breakfast spin add scrambled eggs and crisp bacon or even some sautéed onions.
Smart Storage Solutions
Store uncooked assembled wraps tightly wrapped in the refrigerator for up to forty—eight hours then cook as needed. If making ahead for lunches or meal prep keep cooked wraps in airtight containers for up to three days and retoast on the stovetop to maintain crispiness. To freeze wrap each cooked wrap in foil and store for up to one month then thaw and reheat in the oven at 375 degrees for the best results.
These wraps represent everything I love about speedy weeknight dinners — big flavor low stress and complete comfort. They have saved us from so many nights of indecision and last—minute takeout. Now they are one of those recipes I would insist every busy home cook learns by heart because once you taste that first gooey cheesy garlicy bite it becomes a regular craving.
Common Questions About Recipes
- → Can I use leftover chicken for these wraps?
Yes! Any cooked chicken works well—rotisserie, grilled, or baked chicken all deliver excellent results.
- → How do I keep wraps from falling apart?
Roll wraps tightly and toast seam-side down. Avoid overfilling to prevent bursting and make handling easier.
- → Can the filling be made in advance?
Absolutely. Prepare the filling ahead of time and refrigerate. Assemble and toast wraps fresh for the best texture.
- → What other cheeses pair well in these wraps?
Cheddar, Monterey Jack, Swiss, or pepper jack are all great options for varying melt and flavor.
- → How do I reheat leftover wraps?
Reheat in a skillet for crispiness or bake at 375°F for several minutes. Avoid microwaving to keep tortillas crisp.