
 Pin to Save
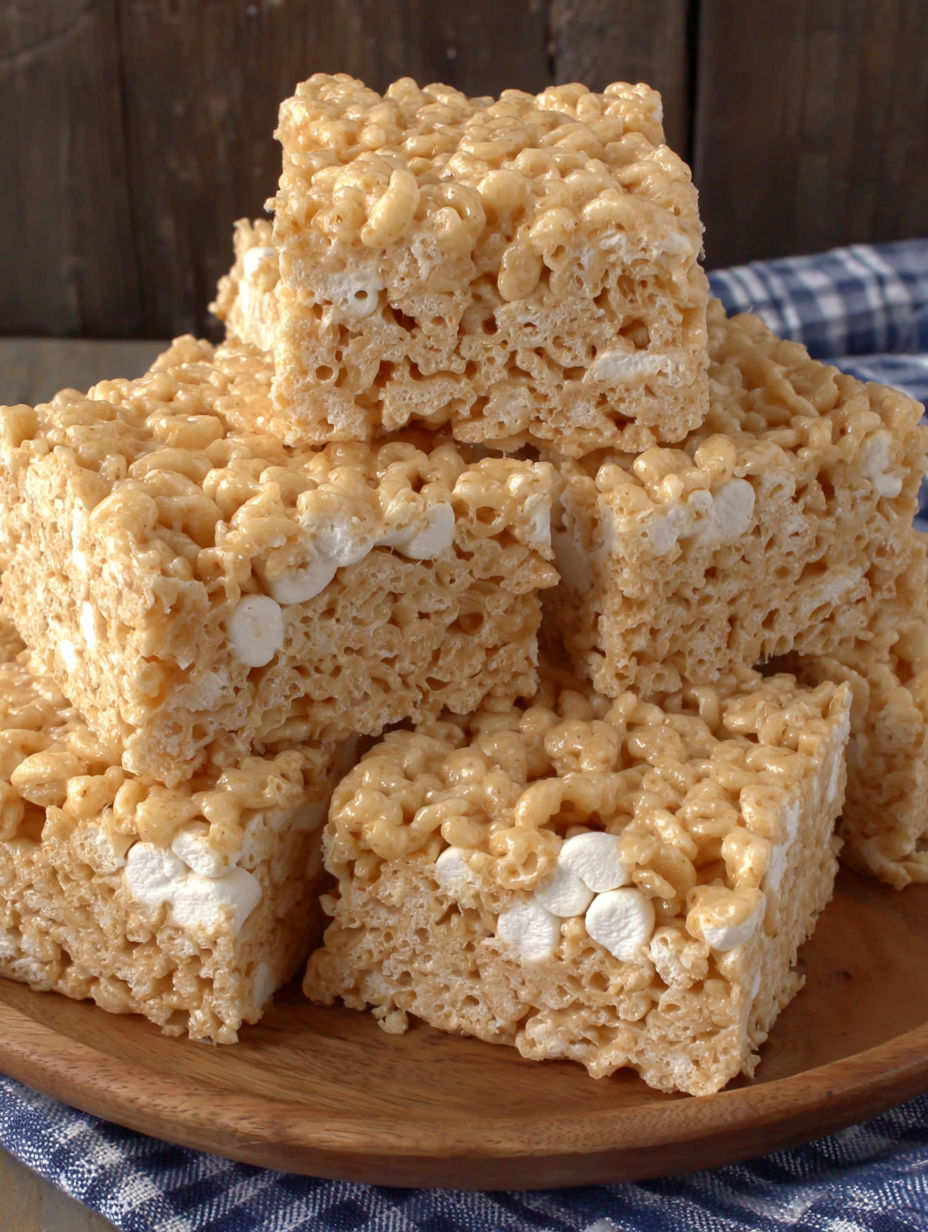
Homemade Rice Krispie Treats deliver a perfect balance of gooey marshmallow and crispy cereal in every bite. This easy recipe uses browned butter to deepen the flavor and comes together fast for any occasion when you need a fun crowd-friendly sweet.
I remember making these for a bake sale at my child’s school serious nostalgia in every square and they always disappear first from the dessert table
Ingredients
- Rice Krispie cereal: Provides the necessary crunch look for a fresh crisp box with no signs of staleness
- Mini marshmallows: Creates the signature chew and melt use fresh marshmallows for best texture and reserve a handful to stir in at the end for those gooey pockets
- Butter: Browning gives the treats a richer nutty flavor always choose unsalted high quality butter for best flavor
- Vanilla extract: Adds sweet aroma pick pure vanilla extract rather than artificial
- Salt: Balances the sweetness fine sea salt works best here
Instructions
- Prepare the Pan:
- Line a square baking pan with aluminum foil making sure it overhangs on the sides for easy removal then lightly butter the foil including the corners to prevent sticking
- Brown the Butter:
- Place the butter in a large light colored pot or Dutch oven and allow it to melt over medium heat Stir constantly as it foams then watch as it changes from yellow to golden brown with nutty aroma and dark specks this stage brings deep flavor
- Melt the Marshmallows:
- Once butter is browned immediately remove pot from heat Add most of the mini marshmallows and stir until they begin melting Return pot to low heat stirring gently until fully smooth Reserve a few marshmallows to add later for extra goo
- Flavor the Base:
- Sprinkle in a pinch of salt and drizzle the vanilla extract over the melted marshmallow mix stir thoroughly so everything is evenly flavored
- Mix in the Cereal:
- Pour the Rice Krispie cereal into the pot in two to three batches Toss and fold quickly using two wooden spoons or a silicone spatula so every piece gets coated and there are no dry spots
- Add Reserved Marshmallows:
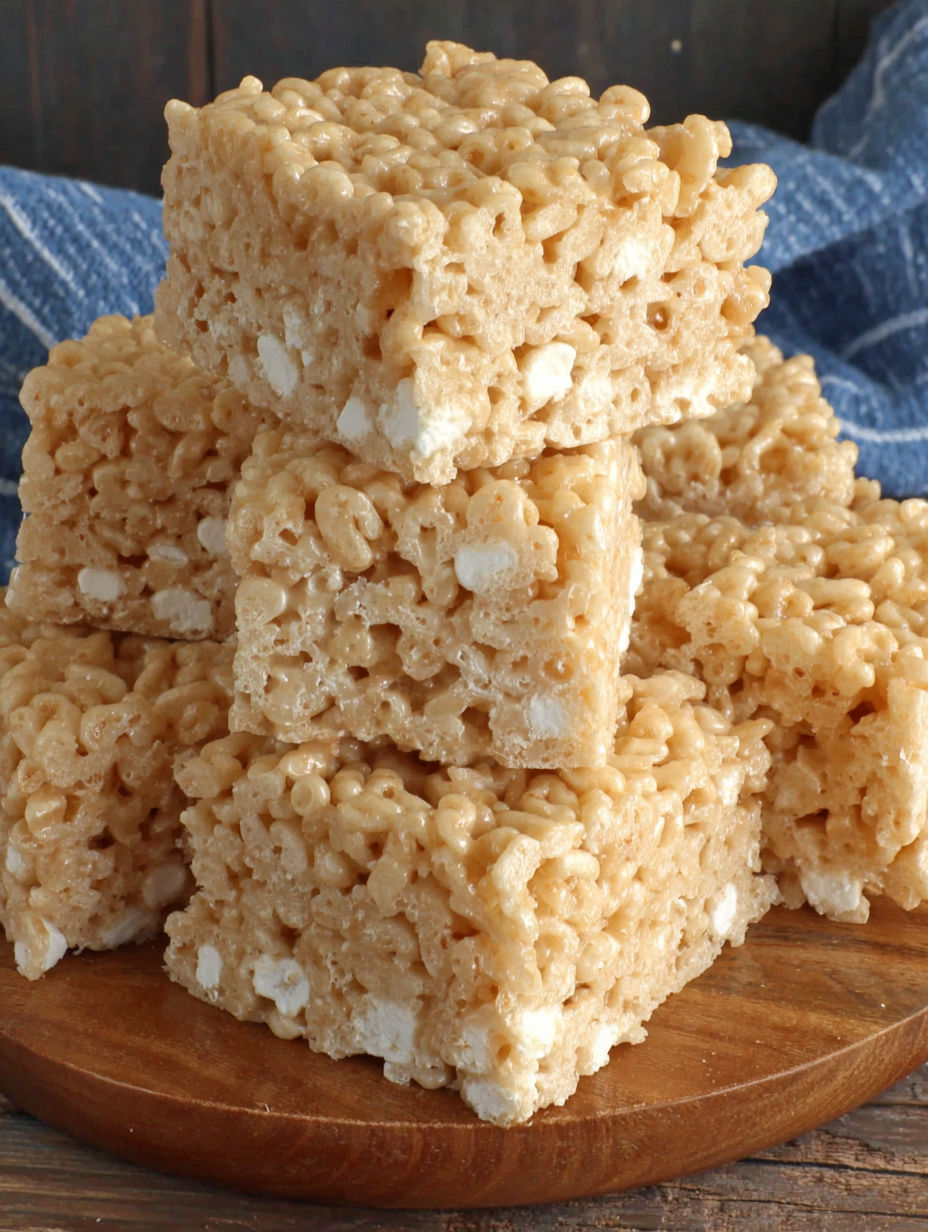
- While still warm fold in the remaining mini marshmallows just barely mixing so they stay a little bit melty and create gooey pockets
- Press into Pan:
- Turn the mixture out into your prepared pan With a buttered spatula or the wrapper from your butter gently press down and spread evenly without smushing it too hard this keeps the texture nice and light
- Set and Slice:
- Let the treats cool in the pan at room temperature for about one hour Carefully lift the foil out set on a cutting board peel down the sides and using a sharp knife cut into squares or bars
Browning the butter is my favorite part and my kitchen smells so warm and nutty Even my family gets excited just from the aroma and we always fight for the first edge piece
Storage Tips
Store your Rice Krispie Treats in an airtight container at room temperature for up to four days They last about a week in the fridge but the texture is chewier If you need to keep them longer wrap each square in wax paper or plastic wrap and place in a freezer bag They stay fresh for about three months this way
Ingredient Substitutions
If you run out of Rice Krispie cereal swap in any plain crispy puffed rice cereal or even half cornflakes for a twist Out of mini marshmallows full size ones work just chop them roughly before melting For dairy free use vegan butter and vegan marshmallows Most brands work well though texture may be slightly different
Serving Suggestions
Serve stacked on a platter at birthdays or holiday parties Cut larger squares for bake sales or lunch boxes Drizzle with melted chocolate or press in colorful candies like M and Ms for extra fun or festive occasions Warm slightly in the microwave for that fresh gooey texture
Cultural and Historical Context
Rice Krispie Treats share a place in American cuisine as a beloved no bake dessert dating back to the 1930s Originally developed by Kellogg’s employees to promote Rice Krispies cereal the treats have since become a favorite across generations and are used for everything from classroom celebrations to holiday gifts
Seasonal Adaptations
Switch mini marshmallows for pastel colored ones in spring Stir in orange zest for a fall harvest twist Top with crushed peppermint in winter for a holiday version
Success Stories
At a family reunion my niece made these with rainbow sprinkles everyone raved and they disappeared in minutes Another time I brought them on a camping trip and the kids had more fun making them than actually eating s’mores
Freezer Meal Conversion
Want to prep ahead Wrap individual bars in wax paper freeze in a zip bag and grab whenever you need a quick dessert or lunchbox treat Let thaw at room temp for about 15 minutes and the texture returns to just made
Rice Krispie Treats are a classic for good reason and never disappoint When you follow these steps you get perfect gooey squares every time
Common Questions About Recipes
- → How do you brown butter for these bars?
Melt butter in a light-colored pan over medium heat, stirring often. Cook until golden with brown specks and a nutty aroma, then remove from heat to prevent burning.
- → What’s the key to gooey bars?
Quickly mix just-melted marshmallows with cereal, then gently fold in extra mini marshmallows for chewy pockets before setting in the pan.
- → How should I store them?
Keep bars in an airtight container at room temperature for up to four days, or refrigerate for up to a week for longer freshness.
- → Can I add different flavors?
Mix in peanut butter, chocolate chips, or colorful candies after combining cereal and marshmallows for fun, tasty variations.
- → What is the best way to cut these bars?
Line the pan with foil or parchment. Once set, lift the whole slab out, peel sides down, and cut into squares using a large sharp knife.
- → Can these be frozen?
Yes. Wrap individual bars in wax paper or plastic, place in a freezer bag, and freeze for up to three months. Thaw before serving.